On 6th day of 30 technologies in 30 days challenge, I have decided to learn Grails web framework. Grails is an open source web framework which uses Groovy and Java programming languages. The web applications written using Grails can be deployed in any of the existing web server like Jetty or Tomcat, etc. Grails is a JVM response to the Rails or Django web frameworks. In this blog, I will first talk how we can develop a simple web application using Grails Eclipse plugin, and then we will deploy the application to OpenShift.

Why should we care about Grails?
The two reasons why I considered learning Grails are :
- Rapid web development : It can help us achieve productivity benefits similar to Rails or Django but without leaving JVM and Java knowledge.
- Powered by proven technologies : Grails underneath uses Spring and Hibernate to power web applications. It can be considered as syntactic sugar over these technologies.
Prerequisites
- Basic Java knowledge is required.
- Install the latest Java Development Kit (JDK) on your operating system. You can either install OpenJDK 7 or Oracle JDK 7. OpenShift support OpenJDK 6 and 7.
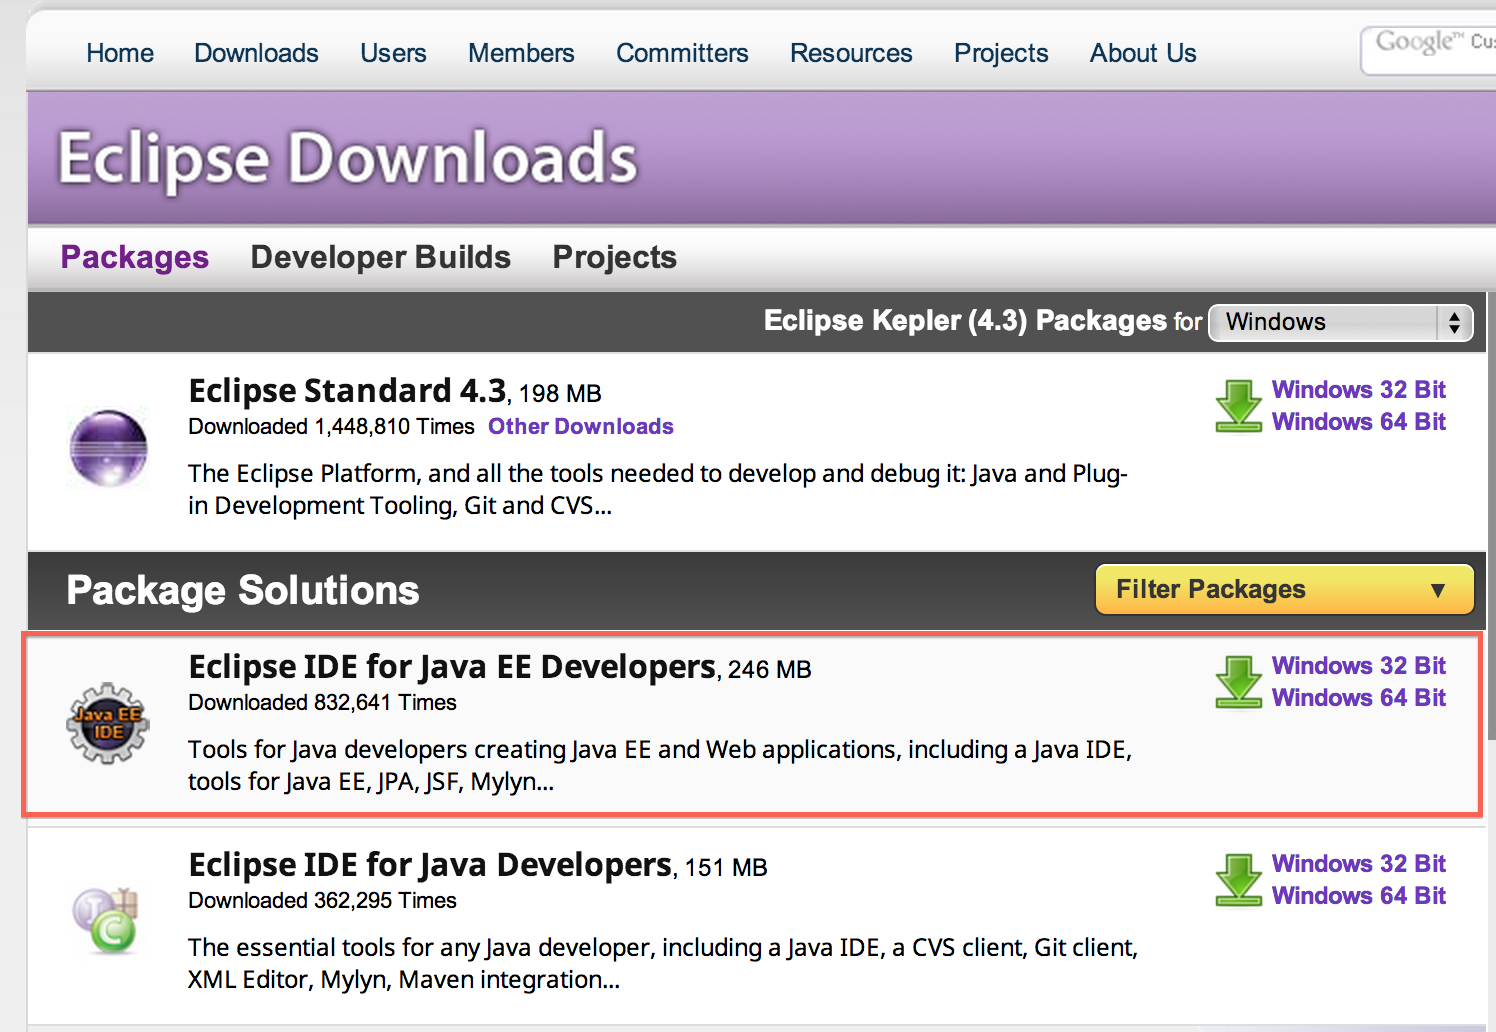
- Download the latest Eclipse package for your operating system from official Eclipse website. At the time of writing this blog, the latest Eclipse package is called Kepler.
It is very easy to install eclipse , just extract the downloaded package and you are done. On linux or mac machines , open a new command line terminal and type command shown below.$ tar -xzvf eclipse-jee-kepler-R-*.tar.gzOn windows you can extract the zip file using winzip or 7-zip or any other software.
After you have extracted the Eclipse, there will be a folder named eclipse in the directory where you extracted Eclipse. You can optionally create a shortcut of the executable file.
Installing Grails
Please refer to the Grails getting started guide for information.
The Grails version that we will be using in this blog is 2.3.1. Run the grails -version command to check the version number.
$ grails -version
Grails version: 2.3.1
When I first ran the version command, I got the following exception.
$ grails -version

Exception in thread "main" java.lang.NoClassDefFoundError: org/codehaus/groovy/grails/cli/support/GrailsStarter
The reason for the exception is that there is an older installation of Grails on the machine. On mac, go to /usr/local/bin and you might find another installation. I sometime back unknowingly installed grails using brew, so I uninstalled it.
brew uninstall grailsStep 1 : Install Eclipse Grails plugin
After extracting the Eclipse Kepler IDE for Java EE, open Eclipse and then navigate to project workspace. Go to Help > Eclipse Marketplace and search for Grails. Install the “Groovy/Grails Tool Suite(GGTS) for Eclipse Kepler(4.3)”. Restart the Eclipse after installation.
Step 2 : Create a new Grails project
In this blog, we will build a simple link sharing application. The user can first registers himself/herself with the application and then submit links.
Create a new grails project by clicking File > New > Grails Project and enter the details. The name of application is linkbin.

The first time we create Grails project we also have to configure Grails installation. Click on the “Configure Grails Installations” and then add a new Grail installation.

We can also specify a different location for the project as shown below and press finish button.

Eclipse will ask us whether we want to open the “Grails perspective”, say yes. The project is created and then imported into Eclipse.

Step 3 : Create domain model
The application domain model is very simple. We have two entities — User and Story.
The user entity has two fields — email and fullName. We added not blank, email, and unique constraints on email field. The email constraint on email field will make sure only valid emails get persisted in the database. The fullName has not blank and size constraints. The size constraint is uses groovy range to restrict the size of a collection or number or the length of a String. To create a new domain class, right click on the domain and then New > Domain Class.

This will create the User domain class. Replace the User domain class code with the code shown below.
package linkbin

class User {

    String email
    String fullName

    static constraints = {
        email unique:true , blank : false , email:true
        fullName size:5..100  , blank : false
    }
}
The Story entity has three fields — link, description, and submittedOn. The link field corresponds to the web url user will submit. The description and submittedOn fields are for additional text for the link and submission date. We added not blank constraints to link and description fields. Also, we added unique and url constraints to link field.
package linkbin

class Story {

    String link
    String description
    Date submittedOn

    static constraints = {
        link url : true , blank : false ,unique : true
        description size : 10..1000 , blank : false
    }
}
Now we will add relationship between User and Story. A user can submit many stories, and story belongs to a user. The relationship is shown below.
package linkbin

class User {

    String email
    String fullName

    static hasMany = [stories : Story]

    static constraints = {
        email unique:true , blank : false , email:true
        fullName size:5..100  , blank : false
    }

    static mapping = {
        table 'users'
    }
}
A story belongs to a user.
package linkbin

class Story {

    String link
    String description
    Date submittedOn

    static belongsTo = [user : User]

    static constraints = {
        link url : true , blank : false ,unique : true
        description size : 10..1000 , blank : false
    }

    static mapping = {
        table 'stories'
    }
}
Step 4 : Scaffold controllers and views from domain model
Grails make it very easy to generate controller and view for the domain model. To generate controller and view for User domain class open the “Grails Command Wizard”.

It will open the command wizard where we can see all the grails command. We will use the generate-all command to generate controller and views.

Next it will ask the name of the domain class.Enter linkbin.User and press the “Finish” button.

Similarly, generate controller and views for the Story domain class.
The generate-all command generates CRUD controllers and views for both the entities.
Step 5 : Run the application
All grails project has inbuilt support for running in embedded tomcat. To run the project, right click on the project, and then Run as grails app.

This will start embedded tomcat servlet container, and we will see following logs in console.
| Loading Grails 2.3.1
| Configuring classpath.
| Environment set to development.....
| Packaging Grails application.....
| Running Grails application
| Server running. Browse to http://localhost:8080/linkbin
Step 6 : Deploy to the cloud
The grails apps are packaged as war files. OpenShift is an open source, public, scalable Platform as a Service. If you are a Java, Python, Node.js, Ruby, or PHP developer then you should take a look at OpenShift. OpenShift is a public Platform as a Service, and you can use it to deploy your applications for free.
Before we deploy the application to OpenShift, we’ll have to do few setup tasks :
- Sign up for an OpenShift Account. It is completely free and Red Hat gives every user three free Gears on which to run your applications. At the time of this writing, the combined resources allocated for each user is 1.5 GB of memory and 3 GB of disk space.
- Install the rhc client tool on your machine. The rhc is a ruby gem so you need to have ruby 1.8.7 or above on your machine. To install rhc, just type
sudo gem install rhc
If you already have one, make sure it is the latest one. To update your rhc, execute the command shown below.sudo gem update rhcFor additional assistance setting up the rhc command-line tool, see the following page: https://openshift.redhat.com/community/developers/rhc-client-tools-install
- Setup your OpenShift account using
rhc setupcommand. This command will help you create a namespace and upload your ssh keys to OpenShift server.
OpenShift also has eclipse plugin, but in this blog I will use OpenShift rhc command line tool.
After setup, we can create OpenShift application by running the following command.
$ rhc create-app linkbin tomcat-7 postgresql-9.2This will create an application container for us, called a gear, and setup all of the required SELinux policies and cgroup configuration. OpenShift will also setup a private git repository for us and clone the repository to the local system. Finally, OpenShift will propagate the DNS to the outside world. The application will be accessible at http://linkbin-domain-name.rhcloud.com/. Replace domain-name with your own unique OpenShift domain name (also sometimes called a namespace).
As we will be deploying war file, so we have to delete the default source generated by OpenShift.
$ git rm -rf src/ pom.xml
$ git commit -am "deleted default source code"
Go to Eclipse, and change the datasource configuration to use postgresql. Grails maintain all database configuration in conf/Datasource.groovy. Update the production configuration to use PostgreSQL settings.
production {
        dataSource {
            dbCreate = "update"
            driverClassName = "org.postgresql.Driver"
            dialect = org.hibernate.dialect.PostgreSQLDialect

            uri = new URI(System.env.OPENSHIFT_POSTGRESQL_DB_URL)

            url = "jdbc:postgresql://"+uri.host+uri.path+"/"+System.env.OPENSHIFT_APP_NAME
            username = System.env.OPENSHIFT_POSTGRESQL_DB_USERNAME
            password = System.env.OPENSHIFT_POSTGRESQL_DB_PASSWORD
        }
    }
Now we have to package the grails application into a war file. To do that, we will use grails war command. Open the “Grails Command Wizard”, use war command. It will ask for a war file name, give the name as target/ROOT.war. It will generate ROOT.war in the target folder. Copy the ROOT.war to OpenShift linkbin application webapps folder.
Now add the war to git repository and push the changes.
$ git add .
$ git commit -am "linkbin app deployed to cloud"
$ git push
After code is pushed and war is successfully deployed, we can view the application running at http://linkbin-{domain-name}.rhcloud.com. My sample application is running at http://linkbin-shekhargulati.rhcloud.com.
That is it for today. I hope this blog will be useful for fellow developers. Keep the feedback coming.
Discover more from Shekhar Gulati
Subscribe to get the latest posts sent to your email.
